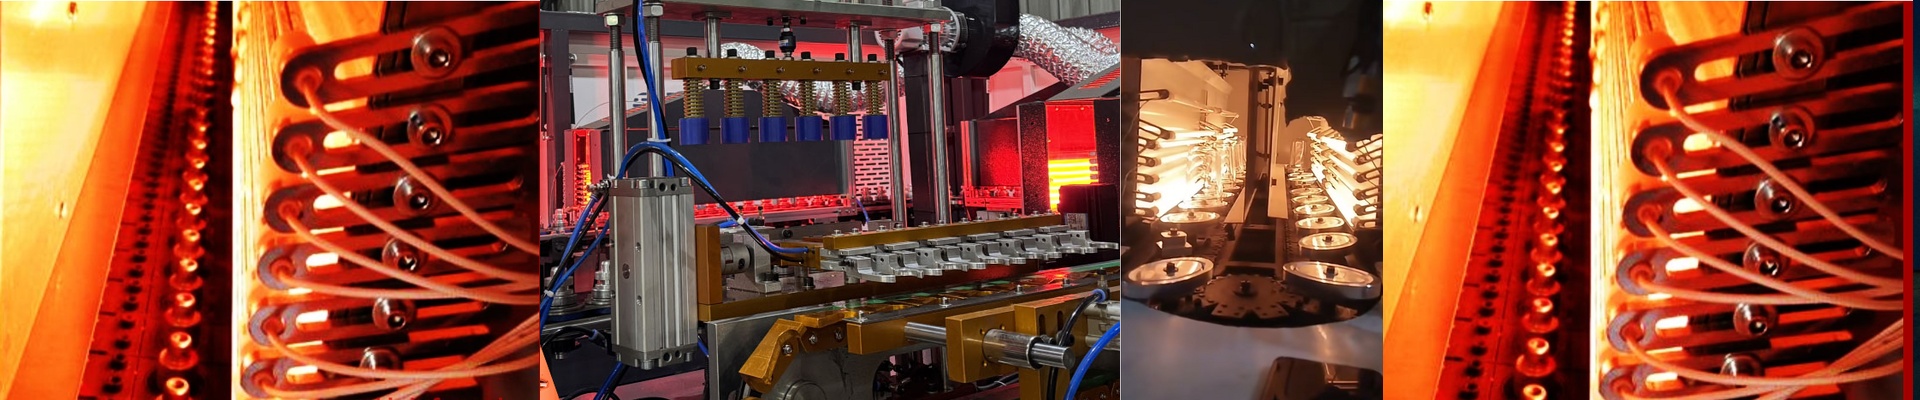
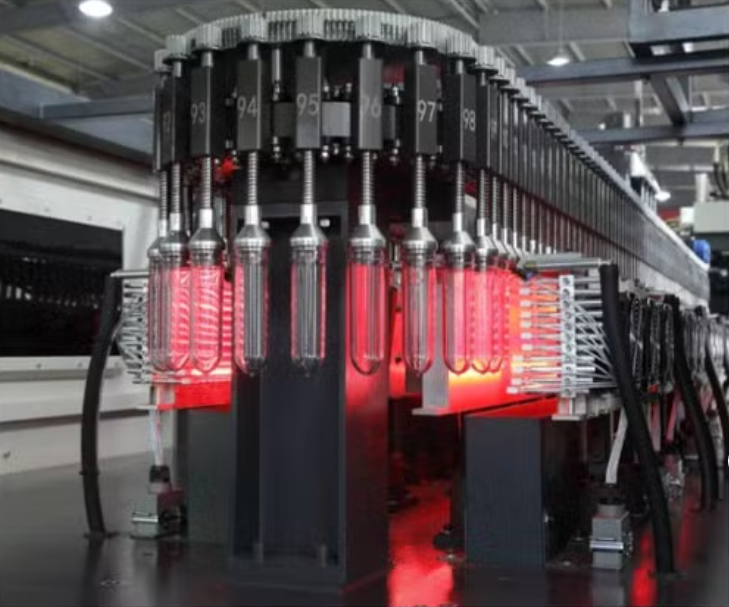
Getting the Heat Right for Sidel Matrix Lamps
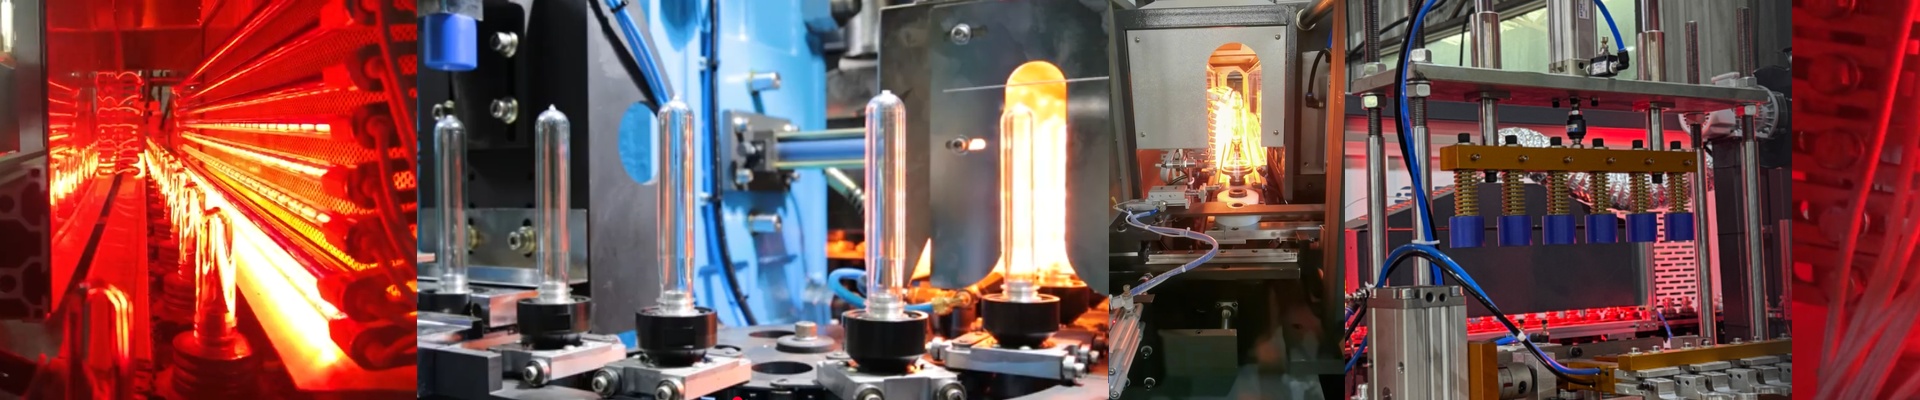
When you’re blowing PET, “close enough” usually isn’t good enough. If your heat is off by just a few degrees across the preform, you end up with wonky wall thickness or those annoying pearlescent streaks. It’s a headache you don’t need. That’s why we spent so much time making sure our replacement lamps for the Sidel Matrix feel and act exactly like the originals.
The nitty-gritty of the heat
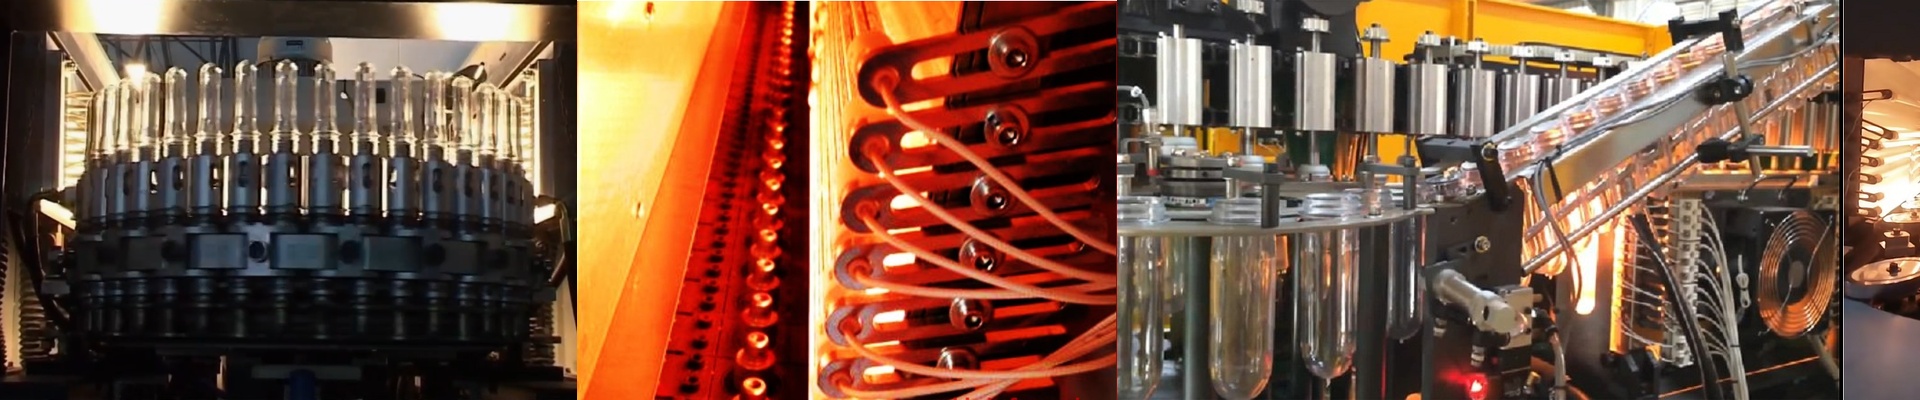
Most people just look at the wattage and call it a day. But we know it’s more complicated than that. We focus on the electrical load and the radiant flux. Basically, we calibrate the voltage and resistance so the current draw stays steady. Why? Because if the ohms are off, your power controller has to fight the lamp. That’s a recipe for a premature burnout or heat that just won’t stay stable. We also use high-purity quartz and a very specific winding density for the filaments. It keeps the heat spread out evenly across the whole tube. No hot spots, no scorched preforms. Just a smooth, consistent glow.
Plugging them in
These are true drop-in replacements. We kept the dimensions and connector footprints exactly as the Matrix blower expects them. You won’t be messing with your wiring or tweaking your reflectors. You just put them in and go. We use a shortwave infrared spectrum so the heat hits the PET fast and deep. One quick tip, though: keep an eye on your oven’s ventilation. These lamps pack a lot of heat density, and if your airflow is blocked, that trapped heat can eat away at the lamp’s lifespan.
What this means for your floor
Here is the best part. You don’t have to spend your afternoon re-programming heating profiles every time you change a lamp. You swap the tube, plug it in, and run the recipes you already have. You can stop wasting time tweaking oven settings just to make up for a “third-party” lamp that doesn’t quite fit the bill. It just works.