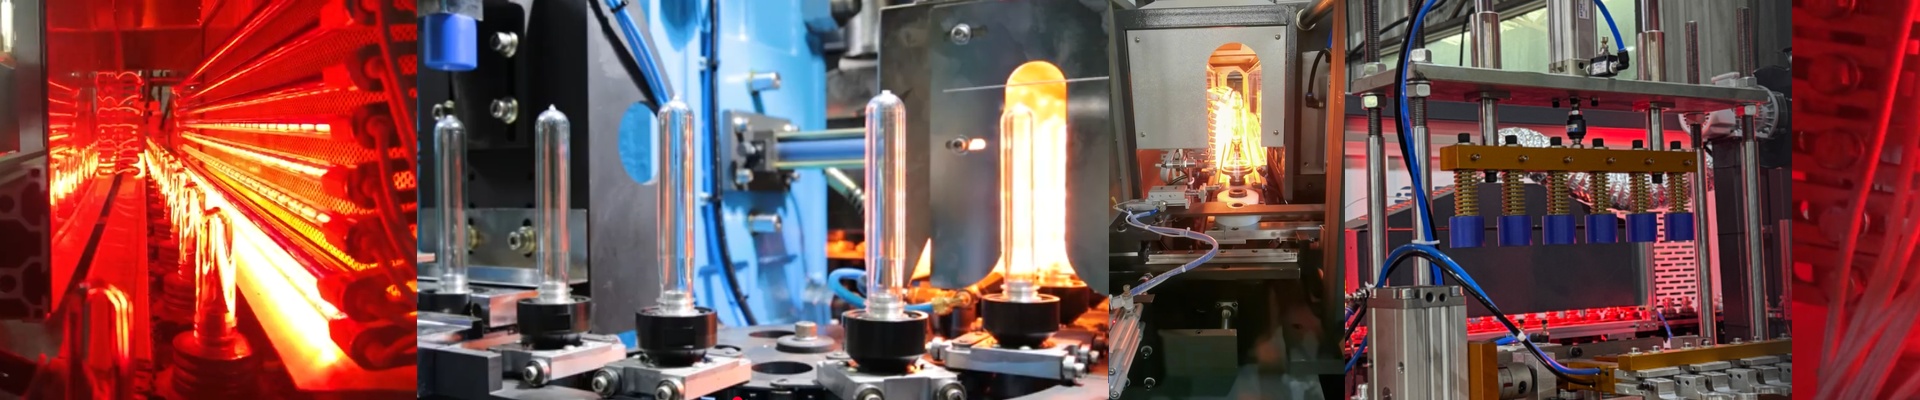
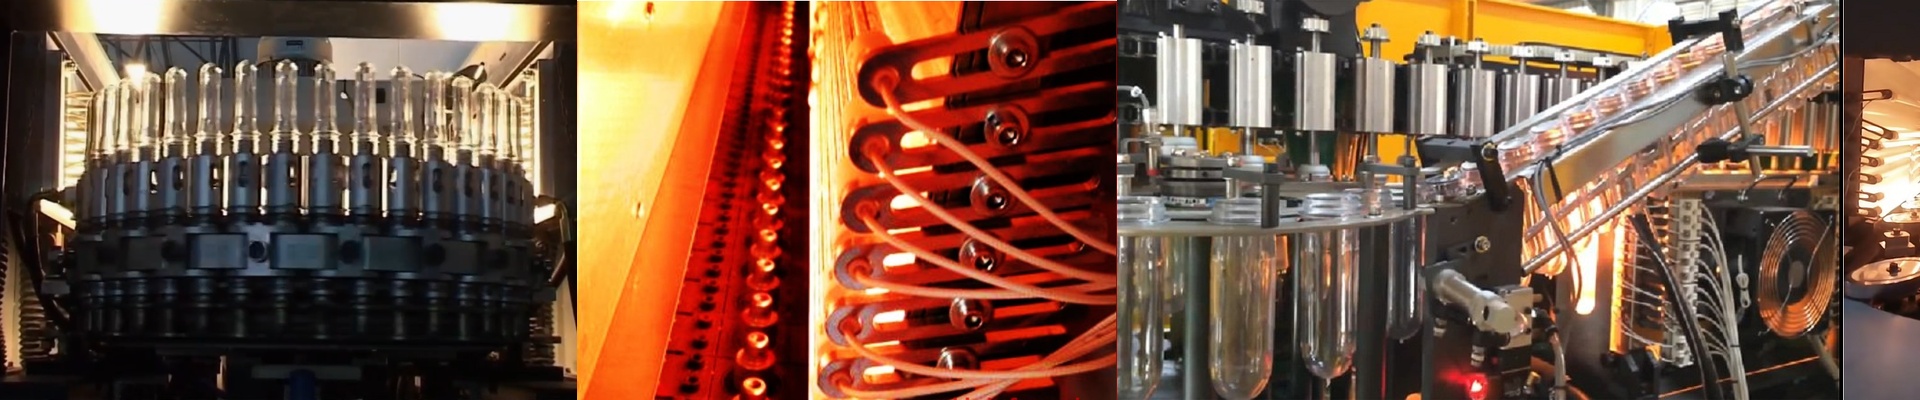
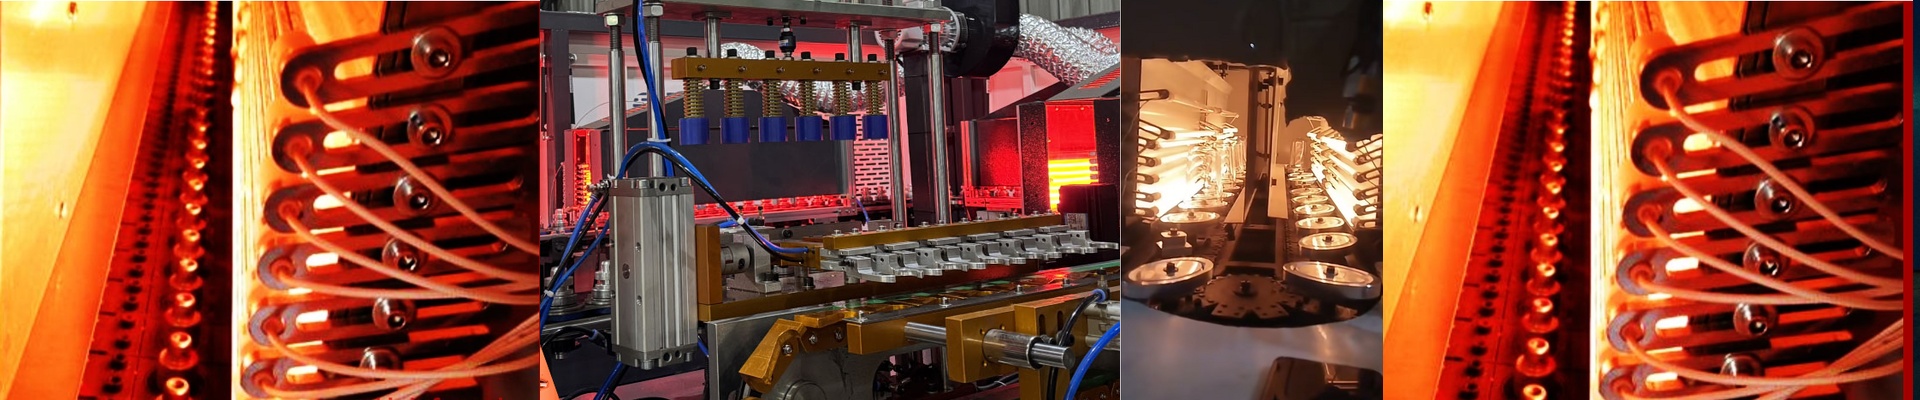
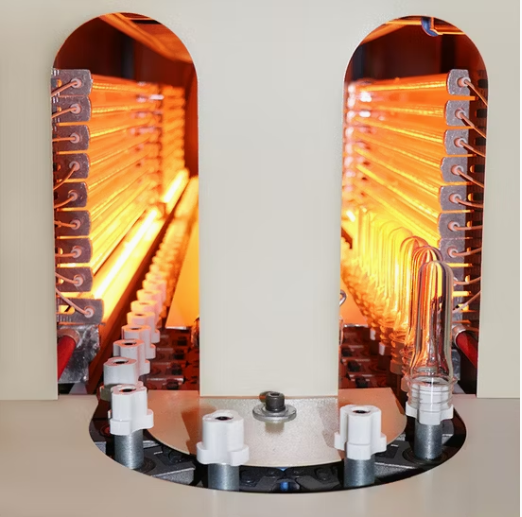
On the blow molding line, the heating tunnel is where the rubber meets the road. Preform temperature drifts, and you know it instantly—hazing, crystallization, weak biaxial stretch, and scrap counts climbing. Getting it right starts with picking the right infrared lamp. What matters under the hood We spec the infrared lamp at 400V and 2500W because that power density keeps preform heating stable and repeatable, without overshooting the polymer. The emitter responds fast, so the heating zone snaps back to your setpoint. In practice, that lets you hold a tight thermal profile across the preform wall and keep the heat in the material, not in the air. The lamp is built to fit the heating tunnel geometry, with the right quartz envelope and a termination that can take repeated thermal cycling without quitting. Why it fits PET stretch blow molding This lamp is engineered for PET stretch blow molding, where uniform heating and predictable stretch behavior are the whole game. It gives you precise control over the temperature curve, so you get even material distribution and consistent bottle geometry. The 400V 2500W rating lines up with the power architecture most OEMs use, so you get stable heat input without rewiring the station. That means fewer line stops, fewer rejects, and less energy spent chasing reheat. Installation is straightforward, but alignment is not optional. The lamp, reflector, and preform path have to be centered. If they aren’t, the thermal field goes sideways and you spend your shift chasing hot and cold spots. Double-check your blow molder’s lamp length, mounting, and connector type—R7s is common, but it’s not universal. And remember: infrared heating is line-of-sight. Keep the emitter surface clean, and don’t touch the quartz. Either one can create hot spots and shorten the lamp’s life.